As anyone who has ever bottled will tell you, it's a bit of a pain. Washing the bottles, drying them and then sterilising and, if you're unlucky, rinsing. There are ways to make the job a little less tedious.
I'll run through what I consider almost the optimal bottling setup for the average homebrewer who doesn't have cornelius kegs and a beer gun.
Equipment
Bottle washing brush
Bottle tree
Auto syphon
25l bottling bucket with little bottler
Bottles/Swing top bottles
Crown caps
Twin lever capper*
Star san or other no-rinse sanitiser**
spray bottle of star san
Gorilla Bucket or other large trug
Pot for priming solution
Priming sugar/malt/glucose
Kitchen weighing scales
Brewing thermometer
Brewing paddle
Small paint brush
Milk
*The twin lever capper is sub optimal but I have to admit I quite like it, if you want a better one then go for a bench capper.
**If you can't get star san then you can use a mixture of 25l of water with 30ml of vinegar and 30 ml of thin bleach added. N.B. DO NOT MIX BLEACH AND VINEGAR NEAT IT WILL PRODUCE TOXIC CHLORINE. Pitch them one after the other into the water.
First thing up which is the hardest is to fill the bath with warm water and a drop of washing up liquid, not too much just enough to create a light foam and soak your bottles for a while then scrub them with the bottle brush. If you are smart when you empty a beer, you rinse it out and ensure that yeast does not go hard and crud up inside it or washing becomes a bit of a nightmare.
I am lucky insofar as I have a lot of German friends due to my job and one or two of them gave me their empties in cases rather than bring them back to Germany for a refund, they get a few botttles of homebrew off of me now and again, the arrangement suits everyone :)
Once the bottles are washed and in their cases then I bring them downstairs and fill the trug with star san and water to the recommended dosage. Star san is great stuff, it's a blend of organic acids that are used in the brewing and dairy industries to sterilise steel tanks, it is safe to drink the stuff at the recommended concentration, it is a very effective sanitiser and you don't rinse it off the bottles.
 So once the bottles have had 30 seconds in this stuff they're ready to go on the bottle tree.
Which has been thoroughly cleaned also and sprayed down with star san.

That's the bottles sorted. It's a multi tasking operation so while some of this is going on you also need to add some of your beer via the syphon to the pot and add the priming sugar you decide on to this, I tend to use malt as I don't like white sugars in my brews as they produce a cidery off taste I don't like, some say it's irrelevant, I don't believe it is.
You can use either your kit instructions or calculate the amount of sugar to style, there are lots of online calculators for this and most brewing software can do it, I use beersmith, it's great.
Bring that solution to 70 degrees at least for about three minutes and then you've sterilised the malt, which you can't presume is sterile from the factory.
From here you take your cleaned and sterilised bottling bucket (whish also doubles as a fermenter when you remove the bottler attachment) and you add your priming solution to the bucket and then syphon the rest of your beer on top and mix it with your paddle or spoon.
The advantages of a bottling bucket vs other methods are too numerous to mention, suffice to say it is the best method despite what others will say. The old school method is to add a spoon or a half a spoon of sugar to each bottle, for a start it's fiddly.
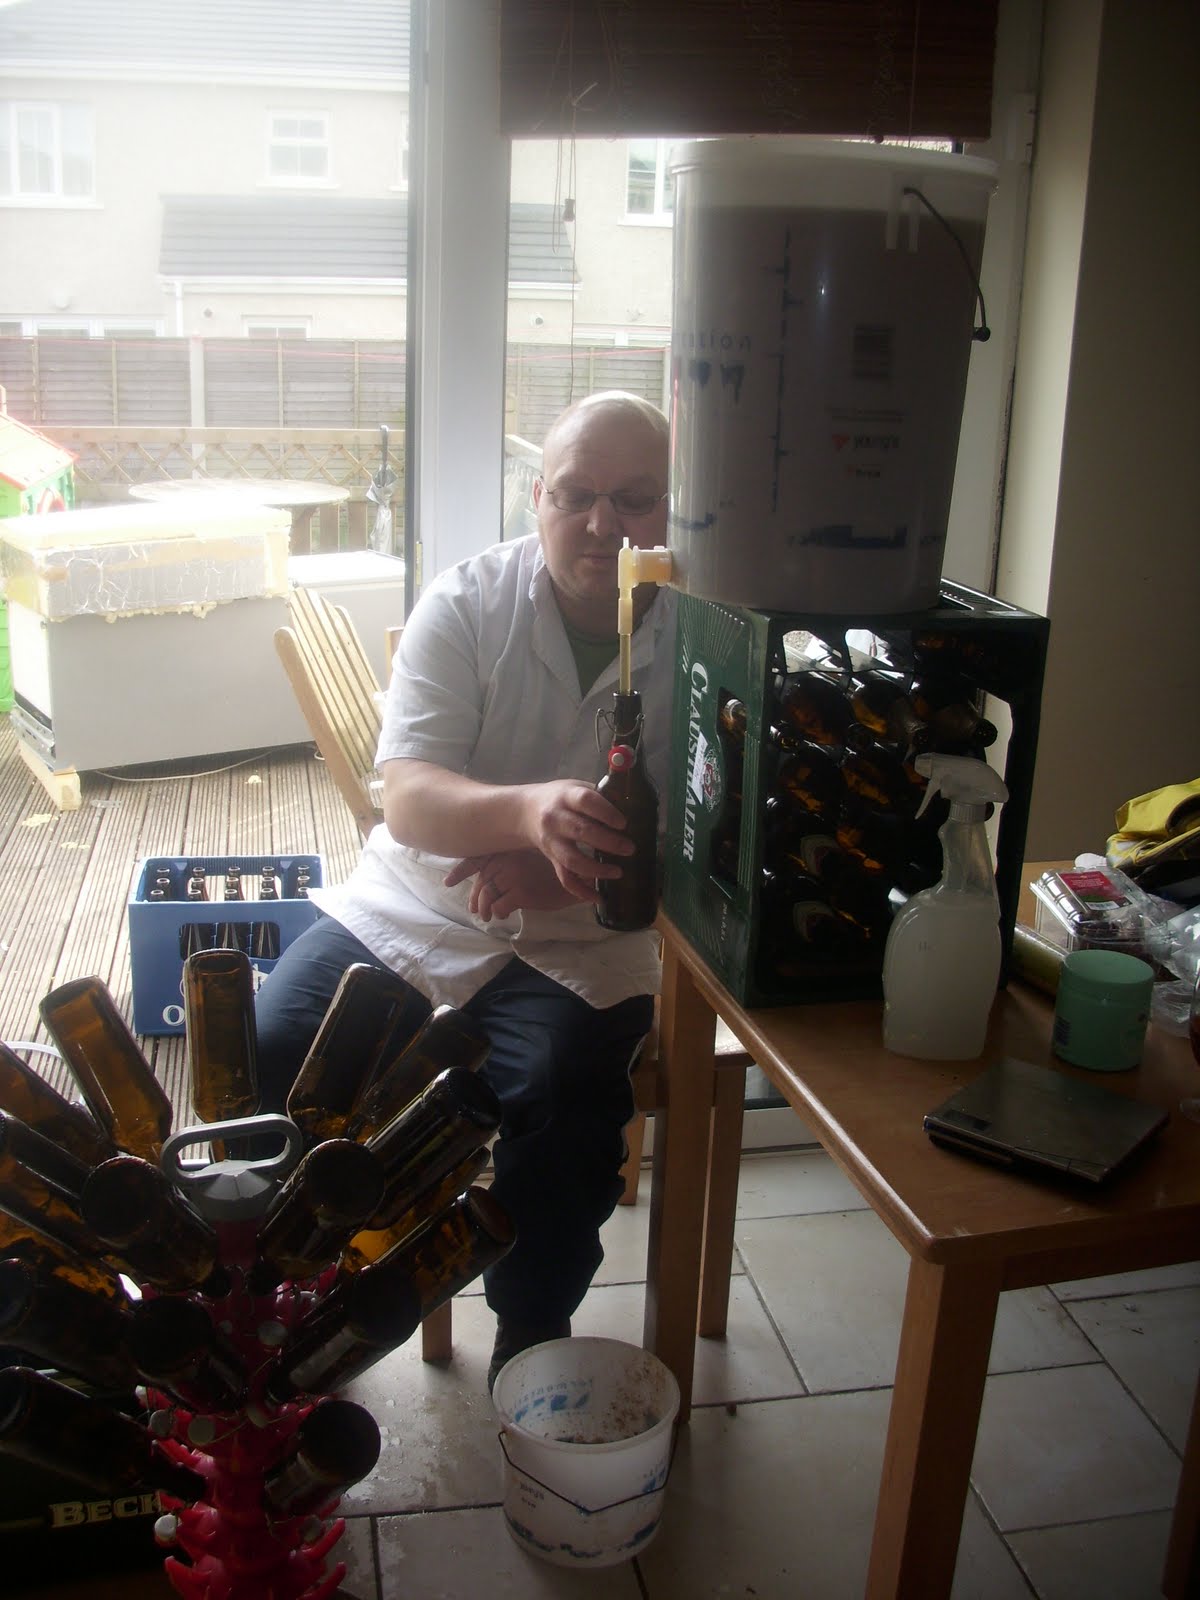 Fill your bottles one by one, if you want you can put a cap on top of them straight away and cap later, in this pic I am on my first case of bottles which were swing top before I got on to the crown cap bottles in the second and subsequent case.
I also filled one budget barrel but that's easy and the same process as filling your bottling bucket, I'll post again about filling and maintaining barrels it's not for this one.
Next step is to cap the bottles, using a wing capper is something you learn, take it easy, don't press down too hard or you might either break the bottle or put a ring shaped dent in the top of the cap. You'll get it after a while, a lot of people don't like the wing cappers and go straight for bench cappers, I have to admit I get on with it and don't think the extra cost of a bench capper is justified.


And the end result of the half days work was the following.

I meant to start this post as what I did, and I did that but it also became an instructable, so I hope it helps some and gives an insight into a method that I find good for bottling and kegging.
There are lots of ways to do it, but I find this one easiest for me at present.
I got my wife to make me up a label for it which I simply print on normal copy paper and then stick on with milk using a paint brush to brush it on the back of the label, milk is great, it's cheap and easy and it works like glue once it goes off.


