Saturday, April 10, 2010

How to get the most out of a chicken.

I often hear people complain about the price of good chickens and the fact that they can't justify buying them. My solution to that is to get the best out of a chicken.
I find chicken can sometimes be too dry when taken off the bone and cooked, so what I do, is poach the chicken and then take it off the bone, I pick the carcass absolutely clean.
There are a few advantages to this, I get succulent poached chicken even though it's off the bone, and I get a nice stock and I use the whole chicken.

To poach the chicken I throw it into a pot with the trinity of stock veg, celery, carrot and onion, to this I add two black peppercorns and some bay. Don't add salt at this early stage as you will be reducing this liquor later and it might get overly salty.
I fill the pot almost to covering the chicken and then put it on to boil.
Don't let it boil for long, once it's boiled for about 5-10 minutes then take it off the heat and put the lid on and let it sit to continue to poach gently. I leave it for two hours at least. Once it's been standing for a couple of hours remove the chicken and put it on a plate to cool. You can start on it now if you have asbestos hands, but it's best to let it cool a while.


Proceed to first skin the chicken and then take the whole lot off the bone. Don't miss anything, even pick in around the neck and take all the meat you can get.
I tend to put this in a bowl and cover the top with cellophane and once it's cooled it goes in the fridge.
This is now ready for a number of things. If you've ever noticed how take aways have a nice succulent chicken that isn't dry and has lots of flavour, well this is more or less what they do. This chicken will go very nicely in a curry, stew, soup, sandwich, basically anything. The beauty of it is that it really only needs heating through so you can add it to any curry or pasta sauce once the sauce has been reduced.
It's very moist and tender, you'll never want to do chicken any other way and you use the whole bird.

There are still a carcass and skin to deal with, so what I do is to strain the poaching liquor and skim the oil off it and then set aside, then I add the skin and bones to a new pot with some new stock veg, carrot, celery and onion, fry this up for a little bit to brown the carcass and the veg, you want some caramelisation to occur to get the flavour in there. If I have a glass of white wine handy I deglaze with that before adding the rest of the poaching liquor back to the stock pot. I then boil this for an hour or so and skim off any dirty scum and bubbles that accumulate on top. Once done I strain it again and then skim the fat off the top, or use a gravy seperator to do this. I then reduce this at least by half as it's a large amount of stock and a little dilute, if you want you can reduce it right down to a tablespoon or two for an amazingly powerful jus.
That is basically all there is to it.

Next post I'll show where some of the chicken got used.


Disclaimer: I realise the photo showing the chicken and the veg on one chopping board is not good health and safety practise, but this was merely for a staged shot before the lot went into the pot together.

Sunday, April 4, 2010

Trying a new type of cider.

I've seen a lot of praise for a cider type drink that they make over on Home Brew Talk that they've dubbed "Graff" in homage to a drink from a Stephen King novel.

It was first put forward as a better home approximation of commercial ciders. The criticism normally of a home cider made from supermarket apple juice is it's lack of body, it's sourness/tartness and the inability to make it sparkling and sweet due to the technical difficulties that this presents.

Basically the yeast eats all the sugar drying the drink out and making it more wine like than cider like. Suffice to say that the techniques employed by cider makers to get a sweet end product are not the easiest for a home brewer to replicate. If you are interested look up a technique called "Cuivage" as it's called by Breton cider makers, or the English call it "Keeving". The basic premise is that you lower nitrogen levels in the apple must and as a result the yeast cannot finish all the sugar as it needs nitrogen to feed.

Graff gets around this problem by being 20% beer and 80% cider, the malt you add leaves some residual sweetness as not all malt sugars are simple sugars that are fermentable so you end up with residual sweetness. There are also hops added to add body and balance the tartness, not a lot mind, and then you use steeping grains to add body and keep a bit of a head.

I've decided to give it a go and I'll try to get this lot sparkling.
The basic premise when carbonating, is that you ferment the liquor under pressure, i.e. in a capped bottle or keg. When yeast eats sugar there are two byproducts which interest us, Alcohol and C02, if there is a lid on then there is nowhere for the CO2 to vent and it dissolves back into solution producing fizz.
In any case, the recipe I used was.

20l Lidl pure apple juice (1.5l cartons)
5l Campden treated water
1kg Light Spraymalt
500g Crystal malt
100g Carapils
20g Cascade hops
500g Glucose
Pectolase to clear.
1 Pack Nottingham Ale Yeast

The method employed is pretty simple. Steep your grains in 5l of water adding the grains at 70c to steep at about 65c for half an hour, I do it in a muslin bag in the pot. I don't bother with sparging per se and just gently move the bag about to rinse the sugars out of the grist. Once that's been done, I add the spraymalt to the pot, dissolve the lot and then turn up the heat to get to a boil.


When you get it to the boil then skim off the hot break and discard. Add your hops and boil for half an hour. I then went ahead and ran the immersion chiller on it to cool it fast, you could freeze a sterilised 2l bottle of water and do the same.
Fast cooling is to ensure a good cold break.
Hot and cold break are proteins that cause hazes and that you don't want in your beers, basically it's like the scum you skim off the top of a stockpot of bones. It makes for a clearer broth and the same principal applies to beer.


Once this is all done, you pour your wort through a strainer into your fermenter. Top this up with apple juice to 25l


Then pitch your rehydrated yeast on it and away it goes.


I rigged up a blow-off tube on this because I think it will be pretty active and this fermenter does not have a lot of expansion room due to the narrow neck.


I've got to work out the correct ABV, a previous calculation was way off, I think I'll be around 8%

Saturday, April 3, 2010

Where should you begin?

I'd advise most people wanting to get started to get themselves into it with kit brewing. You can be set up to brew with about a 70 euro investment. The first kit you buy will continue to serve you if you keep it well even when you decide to advance to more complicated stuff, the base equipment is always essentially the same.
A Kit like this for example will start you off with a kit and the equipment you need to bottle (bar bottles) for only €51.99 and then you add a kilo of spraymalt so you're brewing a really nice beer for 60 euros and the next one all you do is buy a new kit and the rest of the equipment will be reused.

I personally found 3kg kits to be, in almost all cases, superior to one can kits. The Woodfordes range that I used is also easily available and reasonably priced if you consider you have to add nothing else to the kit apart from priming sugar.


So that's the stuff you need and the kits that I liked to use while I was doing kits, the next thing is a post from a while back from Irish Craft Brewer where I was asked to help with photos for their own knowledge base, so I did up a brew and documented the lot with the camera.

I hope this is informative and let me know if it's pitched too high. Remember you don't need the exact kit I use, I just find that kit makes jobs like this easier.


Regarding the price of a brew, once set up with equipment, you need only rebuy kits, the 3kg kits that I use work out about 20 euros for 40 pints, a one kilo kit with spraymalt addition will come to about the same give or take.
Considering that you can turn out REALLY good beer with a kit, it's well worth it.

Ok here we go, tonights brew session documented in Pictures, I can add a better commentary if you want, but here's the pics for now.


All the gear laid out ready to go.
I am illustrating spraymalt, but am not using it as these are 3kg all malt kits and need no extra additions. If you happen to have a 1 tin kit you would be well advised to use spraymalt or liquid malt extract to make up the necessary extra fermentables.
If you use table sugar as some kits advise you will probably be disappointed with the results.


Woodfordes kits, the beers I will be brewing tonight. What can I say, I love the stuff, it's top quality beer and so so easy to make.


The contents of an opened kit, in this case it is the Admirals Reserve kit which is the only one with a pack of hop powder to add, the rest contain only two tins and one silver pack of yeast.


Here's my sanitation* and water treatment stuff.
I fill my large yellow bucket with 40 litres of water, then 60ml of vinegar which I mix in and then I add 60ml of the thin bleach, this makes a solution which is suitable for sanitising of all equipment. You can scale this mixture as you wish.
* since this session I no longer use this mixture, and in any case the milton was a really bad idea, buy cheap thin bleach that has no surfactant.

My fermentation bins and bottling bin all scrubbed with a little washing up liquid in the bath.


Spraymalt which you would use if you were using a one tin kit. This would be boiled in a pot with campden treated water for a few minutes before being added to the tin of malt as you shall see later.

The thermometer and hydrometer which are optional for kit brewers, if you follow instructions and want to keep it simple you will come out more or less at what the manufacturer claims for an alcohol content.
I leave my fermenters 4-5** weeks in primary so don't always bother with these.
**Since this post I would advise 3-4 weeks, 5 is mostly too much, but will do no harm apart from possibly impart a bit of yeasty flavour which is sometimes unwanted.

This is a fermenter in the sanitisation bucket, everything that I use including the tin opener will be dropped in here when not in use.
Once the bucket is cleaned then I run a little water in from the tap and rinse it lightly, this solution is supposed to be no rinse so I don't go overboard with rinsing.


I add a half a campden tablet to every five gallons of water to get rid of the chlorine and chloramine in the tap water. Crush the tablets between two spoons, I don't bother sanitising these spoons as campden is pretty good as a steriliser itself.


Buckets of water with campden added which I will use to add to the malt.

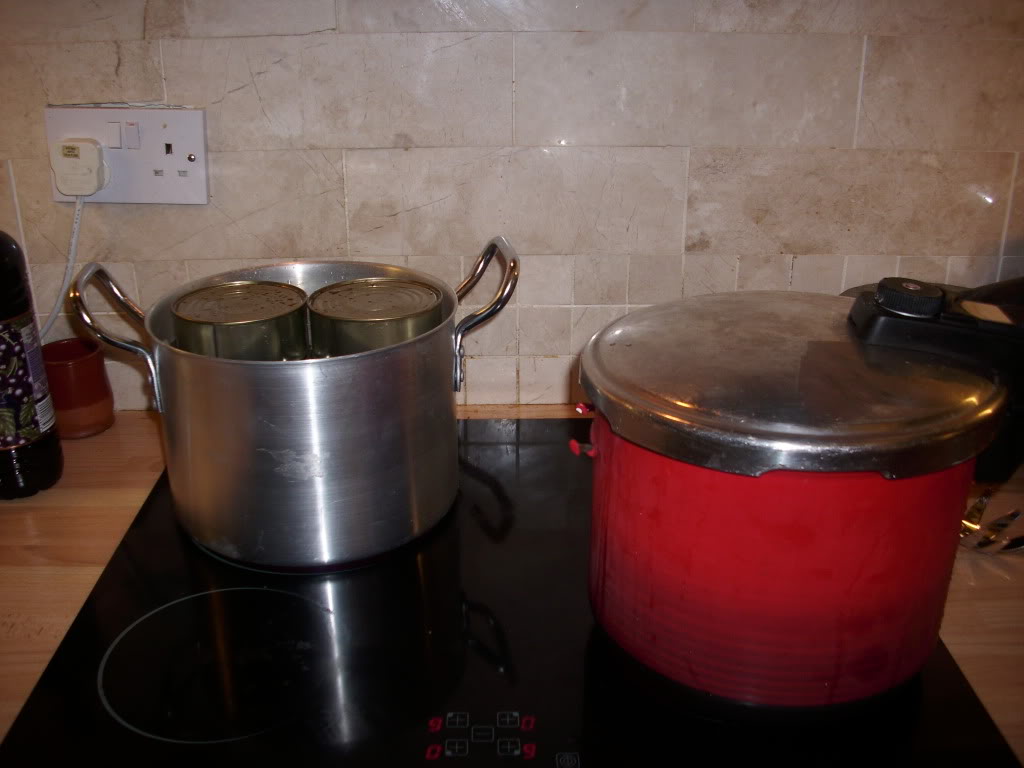
I put two pots on the stove, one with hot water that I will use to wash out the tins of malt to get it all out, the other I will put the tins into while still closed to warm the malt so that it becomes more fluid and will pour better. If the tins are cold it'll be like treacle or worse and you'll have a hard time getting the malt out. I tend to dunk the ends of these in the cleaning bucket before opening with a sterilised tin opener.

When the malt is warm you can open the tin and pour it into the bucket, I then scrape the rest out with a sanitised spatula before adding boiling water to the tin and rinsing around to get the rest of the malt out, this also goes into the fermenter.
When I add them to the bucket and add the hot water then I tend to stir a bit with my paddle to thin the mix a bit before adding the rest of the cold water, otherwise you can get lumps of cold malt at the bottom of the bucket which take a while to stir in.
If you were using spraymalt you would add the boiled solution of spraymalt at this stage to make up the equivalent of the second tin of malt that these kits have.


When adding the campden treated water I am sure to splash it from a height lift the bucket high as you pour it, it'll produce a very foamy head, but more importantly it'll aerate the wort which is necessary for the yeast to reproduce in the early stage before they start to make alcohol and need no more air.
The bubbles also serve the purpose of allowing the yeast to get moist slowly and hydrate without being in a high concentration wort that can affect their early growth. Some people rehydrate their yeast in a container of water about an hour before using it, I haven't needed to so far***.
***Since this post I have started to rehydrate my yeast, it starts the ferment a lot faster when I do. Mix preboiled and cooled water in a glass with hot water to get to 30c then pitch your yeast packet on it and leave 15 minutes before pitching on your wort mixture.

When I have my buckets filled then I take a sample and read the temperature and the Original gravity, for this demo I did, but as mentioned earlier I don't always bother.
I then put on the lids and put in the bubblers, but I don't snap the lids on for the first week or so, after that I snap the lids down and allow the bubblers to do their thing.( It's handy to snap the lid down so a bucket will keep it's shape while carrying it to it's final brewing spot, then snap it off again.)
You don't need bubblers, a lot of people just use lids on the buckets which they don't snap down tight. I feel safer with them as I leave my beers for 4-5 weeks in primary and don't bother with a secondary before bottle or keg conditioning, but like I said, at the start the lids are not snapped down tight.


Ferment your beers as close to a constant 20c as you can, if you ferment too warm you get banana and clove like tastes in your beer, this is not desirable in most styles.

So there you go, hope that's helpful.

I'm not normally too popular with my wife when I do this but keeping a mop about helps with the inevitable swimming pool that develops on the floor.

Non brewing related post.

Sorry to bring this up in a brewing blog, but just think about the 15 year old who was stabbed to death here in Tyrrelstown yesterday evening. Happened more or less outside my door.

I'm not religious at all, quite the opposite, but in reverance,


RIP Toyosi.


Latest story is here.


Normal progamming will resume now.

My recent trip to the drinkstore in Stoneybatter.

I popped into the drinkstore Stoneybatter recently, I was wanting to try out a few new beers both for inspiration and to become familiar witht the commercial beers available.
I was impressed with some and totally unimpressed with others, as it turns out the one I was most impressed with was also the oldest style there.....


The beers pictured are as follows.
Sierra Nevada Pale Ale
Dogfish head 60 minute
Chapeau Gueuze
Chapeau Framboise
Boon Kriek
Belfast Black
SN Anniversary Ale
SN Porter
Belfast Lager
Mollys chocolate stout
Headless dog
Clotworthy Dobbin
Porterhouse Plain
Porterhouse Hophead
Timothy Tailor Landlord

I'll go through them one by one and give my opinion on them.

Sierra Nevada Pale Ale
Nice enough beer, lots of cascade US hops in this one.
Dogfish Head 60 minute
Not a bad beer, again lots of American hops. Not as much aroma hop as the SNPA
Chapeau Gueuze
Wow, what can I say about this one, fantastic. Very fruity, almost like a port wine. This was my favourite of the whole lot and it was a lambic.
Chapeau Framboise
This time a fruit lambic, not as nice as the gueuze, but not bad. Low alcohol @ 3.5%
Boon Kriek
This is another beautiful lambic, cherry flavour this time and a lot more sour than the Chapeau lambics, I think it's more in keeping with the classic style.
Sierra Nevada Anniversary Ale
This is to SNPA what Coopers Sparkling Ale is to the normal Coopers Pale Ale, basically a darker higher alcohol version of more or less the same.
Sierra Nevada Porter
Not a bad porter, but far from the best of the bunch that I had here, unremarkable.
Belfast Black
This is a good stout, I'd recommend it to anyone, very impressed with another offering from this brewery.
Belfast Lager
I'm not a fan of this one at all, unlike it's black cousin. I dislike the fact that it's brewed using a non noble hop and I'm a pils fan having lived for years in Germany.
Molly's chocolate stout
This for me was the low point of the whole lot, thin, lacking in body, no chocolate note, totally underwhelming. It also had too much patent malt which made it kind of ashy.
Headless Dog
I liked this one a lot, I find that the American styles tend to overemphasise the hops and are in a competition to beat you to death with aroma hopping. This one strikes a nice balance with the usage of American hops in a more measured way.
Clotworthy Dobbin
This was another highlight, but I knew that buying it, I'd had this one before and knew it was a lovely malty dark beer. I like this one a lot.
Porterhouse Plain
Fantastic stout, beats most of them out there, very drinkable, I like it a lot.
Porterhouse Hophead
This is too hoppy for me, not to my taste, it's trying to compete with the aforementioned high hop levels of the US beers. I like it a little more reserved, I think the main reason is I did a beer very like this at Xmas and overdid it one night and have not been good with the hops in those levels since.
Timothy Taylor Land Lord
This is an award winning pale ale/bitter and I probably amn't doing it justice because I had just brewed a best bitter that is very very similar to it by fluke and I think mine is better and I think I'm being objective, maybe not but hey.


It's worth a run down there and as a member of the Irish Craft Brewer website I got a ten percent discount. I got the whole lot for 61 euros which is not bad considering that I had two of most of them apart from the lambics, the dobbin ( only one bottle left) and the SN range as they were 4 for a tenner.

Most of the beer names are hotlinked to the beer on the drinkstore website where you can order online for delivery.

Monday, March 29, 2010

Bottling my Noble Pale Ale.

Before I brewed the beer on Sunday, I had a beer to bottle to make space in the spare room.
As anyone who has ever bottled will tell you, it's a bit of a pain. Washing the bottles, drying them and then sterilising and, if you're unlucky, rinsing. There are ways to make the job a little less tedious.
I'll run through what I consider almost the optimal bottling setup for the average homebrewer who doesn't have cornelius kegs and a beer gun.

Equipment
Bottle washing brush
Bottle tree
Auto syphon
25l bottling bucket with little bottler
Bottles/Swing top bottles
Crown caps
Twin lever capper*
Star san or other no-rinse sanitiser**
spray bottle of star san
Gorilla Bucket or other large trug
Pot for priming solution
Priming sugar/malt/glucose
Kitchen weighing scales
Brewing thermometer
Brewing paddle
Small paint brush
Milk

*The twin lever capper is sub optimal but I have to admit I quite like it, if you want a better one then go for a bench capper.
**If you can't get star san then you can use a mixture of 25l of water with 30ml of vinegar and 30 ml of thin bleach added. N.B. DO NOT MIX BLEACH AND VINEGAR NEAT IT WILL PRODUCE TOXIC CHLORINE. Pitch them one after the other into the water.

First thing up which is the hardest is to fill the bath with warm water and a drop of washing up liquid, not too much just enough to create a light foam and soak your bottles for a while then scrub them with the bottle brush. If you are smart when you empty a beer, you rinse it out and ensure that yeast does not go hard and crud up inside it or washing becomes a bit of a nightmare.
I am lucky insofar as I have a lot of German friends due to my job and one or two of them gave me their empties in cases rather than bring them back to Germany for a refund, they get a few botttles of homebrew off of me now and again, the arrangement suits everyone :)
Once the bottles are washed and in their cases then I bring them downstairs and fill the trug with star san and water to the recommended dosage. Star san is great stuff, it's a blend of organic acids that are used in the brewing and dairy industries to sterilise steel tanks, it is safe to drink the stuff at the recommended concentration, it is a very effective sanitiser and you don't rinse it off the bottles.
So once the bottles have had 30 seconds in this stuff they're ready to go on the bottle tree.
Which has been thoroughly cleaned also and sprayed down with star san.


That's the bottles sorted. It's a multi tasking operation so while some of this is going on you also need to add some of your beer via the syphon to the pot and add the priming sugar you decide on to this, I tend to use malt as I don't like white sugars in my brews as they produce a cidery off taste I don't like, some say it's irrelevant, I don't believe it is.

You can use either your kit instructions or calculate the amount of sugar to style, there are lots of online calculators for this and most brewing software can do it, I use beersmith, it's great.

Bring that solution to 70 degrees at least for about three minutes and then you've sterilised the malt, which you can't presume is sterile from the factory.

From here you take your cleaned and sterilised bottling bucket (whish also doubles as a fermenter when you remove the bottler attachment) and you add your priming solution to the bucket and then syphon the rest of your beer on top and mix it with your paddle or spoon.
The advantages of a bottling bucket vs other methods are too numerous to mention, suffice to say it is the best method despite what others will say. The old school method is to add a spoon or a half a spoon of sugar to each bottle, for a start it's fiddly.

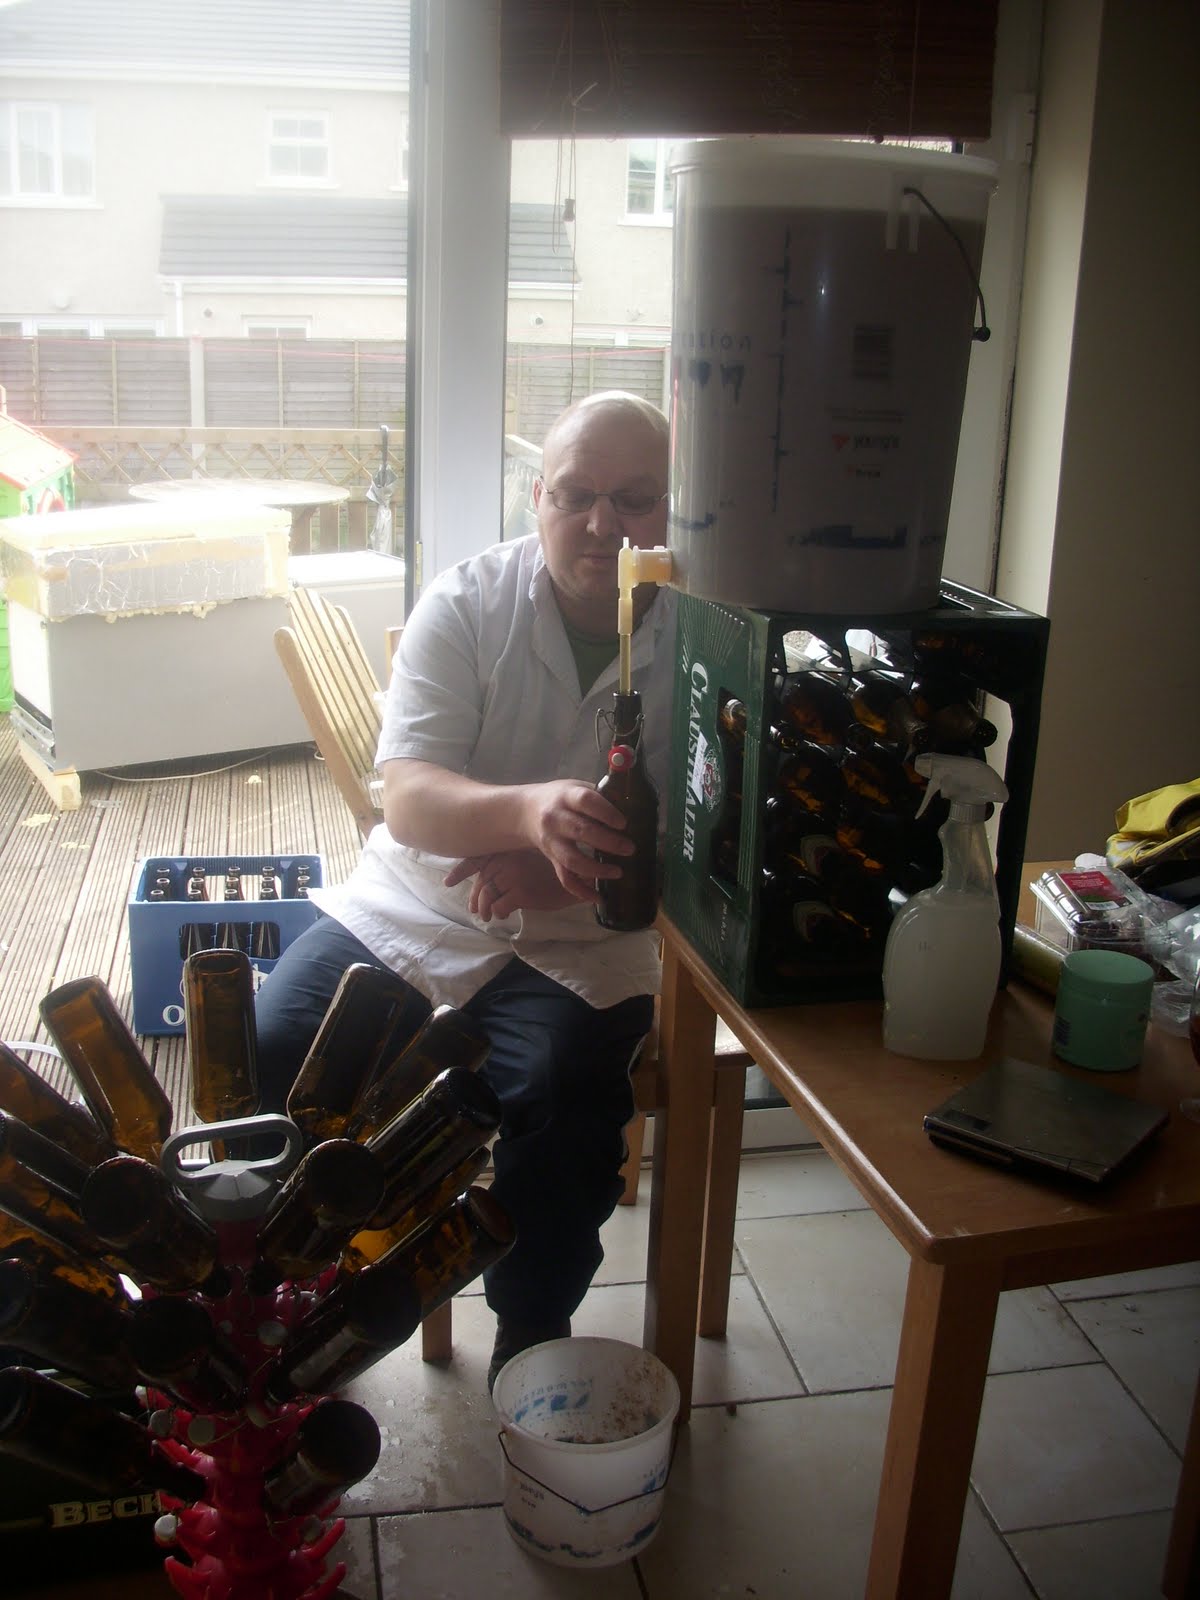
Fill your bottles one by one, if you want you can put a cap on top of them straight away and cap later, in this pic I am on my first case of bottles which were swing top before I got on to the crown cap bottles in the second and subsequent case.
I also filled one budget barrel but that's easy and the same process as filling your bottling bucket, I'll post again about filling and maintaining barrels it's not for this one.


Next step is to cap the bottles, using a wing capper is something you learn, take it easy, don't press down too hard or you might either break the bottle or put a ring shaped dent in the top of the cap. You'll get it after a while, a lot of people don't like the wing cappers and go straight for bench cappers, I have to admit I get on with it and don't think the extra cost of a bench capper is justified.


And the end result of the half days work was the following.


I meant to start this post as what I did, and I did that but it also became an instructable, so I hope it helps some and gives an insight into a method that I find good for bottling and kegging.
There are lots of ways to do it, but I find this one easiest for me at present.

I got my wife to make me up a label for it which I simply print on normal copy paper and then stick on with milk using a paint brush to brush it on the back of the label, milk is great, it's cheap and easy and it works like glue once it goes off.

Saturday, March 27, 2010

My first post and the tale of The Old Speckled Hen

If you're reading this the chances are that you either know me or have an interest in brewing, or both. I've decided that my brewing should be blogged as up to now it's just been written to forums and my handy moleskine brewlog. I'll also use this blog now and again to blog stuff I cook, I have to get used to this though because I did a risotto the other night and forgot the camera and was thinking afterwards that it would have been good to have photos for the blog, but it was tasty.

I knocked up a beer on Sunday, It's an old speckled hen clone, which is about my favourite cask ale.
Here's the recipe I ended up using.


Type: Partial Mash


Batch Size: 57.00 L

Brewer: Eoin


Amount Item Type % or IBU
3.75 kg muntons light
Extract 35.5 %
1.12 kg Lyle's Golden Syrup
Extract 10.6 %
4.00 kg Pale Malt, Maris Otter
Grain 37.8 %
1.25 kg Caramel/Crystal Malt
Grain 11.8 %
0.20 kg Wheat Malt Grain 1.9 %
100.00 gm Northern Brewer [8%] (60 min) Hops 42.5 IBU
37.50 gm Goldings [4.00%] (15 min) Hops 3.6 IBU
25.00 gm Goldings [4.00%] (5 min) Hops 1.0 IBU
0.25 kg Demerara Sugar (3.9 EBC) Sugar 2.4 %

I reused 4 cups Danstar Nottingham Yeast from my last batch because the yeast was a little fluffy and had a lot of break material in it.

Beer Profile

Est Original Gravity: 1.054 SG


Est Final Gravity: 1.014 SG
Estimated Alcohol by Vol: 5.2 %
Bitterness: 47 IBU
Est Color: 19.4 EBC Color:
Color


Ingredients all laid out and ready.

A bit of history about the old speckled hen which I have taken from this thread which is also where I got most of the recipe from, I've added the wheat malt myself for increased head retention. I'm using pH 5.2 mash stabiliser for the first time.

"Old Speckled Hen was first brewed in Abingdon, Oxfordshire to commemorate the 50th anniversary of the local MG car factory. WHY? I hear you ask. Well, sit back, relax, and I'll tell you. The name is actually derived from the term "owld speckled 'un", used to describe an old MG car which was used as a factory run-around. Through time, this strange, canvas-covered saloon became covered with flecks of paint and was dubbed the "owld speckled 'un" by locals. There you are, simple and completely uninteresting. The brewing of Old Speckled Hen was transferred in 1999 from Abingdon in Oxfordshire to Bury St Edmunds in Suffolk. These days Greene King brews all its beers in Bury St Edmunds, where ale has been a feature of life since at least as far back as 1086."


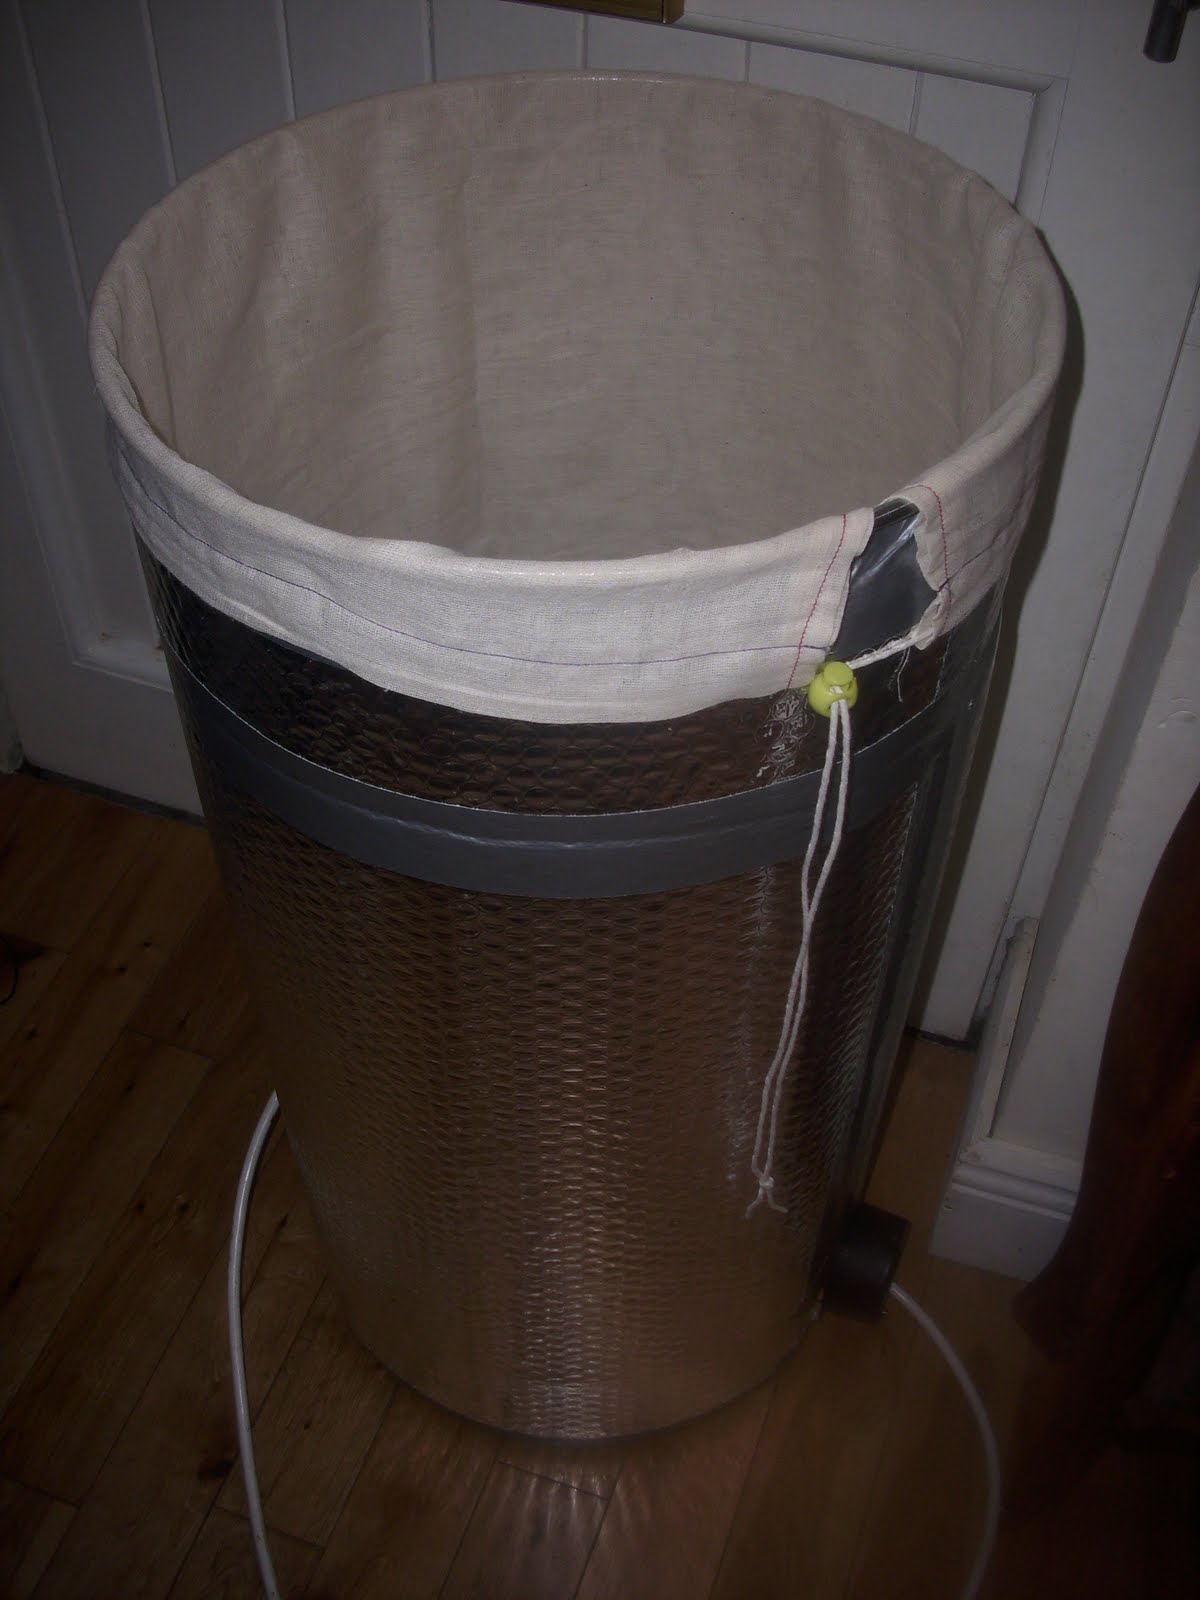
For my partial mash I used the brew in a bag technique and sparged as well as I could.
Despite the pH stabiliser my pH didn't drop below 6.1. I'll keep an eye on this because if it's not worth it then it's not worth it.


Brew in a bag ready to go, the bag was made by my ever so talented wife
The other pic is of the boil in full swing. I skimmed off the hot break material as well as I could, it saves on boilovers.
There was lots of cold break material and hops left in the boiler at the end.


Gratuitous gunk shot.(ooh err matron)


Once done , I ran off the wort, I ended up with 58l of 1.052 wort, which should end up about 5.2% ABV which is on target.


The whole lot then went into the fridge with a few cupfuls of the Notty sludge from my last brew.

The wife got me an old fridge for free off one of her forums and I modified it with some Kingspan insulation and polyurethane sprayfoam to fit my fermenter. I then bypassed the thermostat on the fridge so it's permanently on when plugged in and then attached it to an ATC-800+ which has the ability to turn on heat and cold circuits to maintain a temperature within a degree either side of a set temperature. I have a heat belt attached to the heating circuit and the cold is on the fridge. I have it set to 18c as I like the low flavour profile of the Nottingham yeast at low temperatures.


I did a bottling session the same day, I'll post about that shortly.